How to integrate TagoIO with Kerlink LoRaWAN
1.First go to your TagoIO account, and if this is your first device connected between Kerlink and TagoIO, you will need to create an Authorization here .
Make sure you fill the Additional Parameters with your Kerlink url, login and password, like this:
- Additional Parameters: https://wmc-poc.wanesy.com;johndoe;123456
Copy it to use at Kerlink later. Note : you just need to create one Authorization for all your devices.
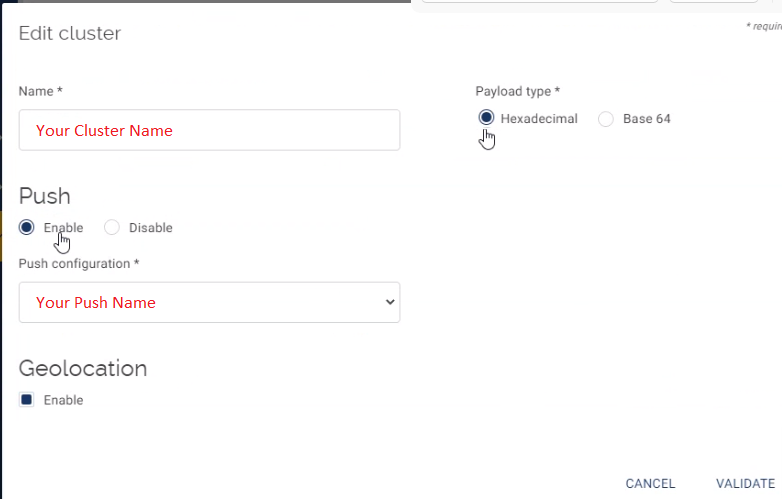
2.Now you need to go to Kerlink website and create a new push configuration. You can create a new push configuration under the menu Administration > Clusters > Push configuration. See how to find this page here.

Fill the fields accordingly:
- Type: HTTP
- Message detailed level: Payload
- URL: https://kerlink.middleware.tago.io
- Username and password: Enter anything you want, TagoIO doesn’t use it but the fields are required by Kerlink.
- SSL Options: Just skip by pressing next.
- In Custom Headers, Key: authorization-code, and the value being the Authorization copied from TagoIO at beginning of this tutorial.
4.Now, you just need to Add the Device in your TagoIO account.
Go to Devices/Kerlink and chosse the device connector and enter your device EUI - you can use the QR code to capture the EUI !
Done! Just turn your device on, and you will see data arriving in your new dashboard.
If data doesn’t show up in your TagoIO account (use the Live Inspector tab in your Device to see data arriving), make sure you can see data in your Kerlink portal first, and check the keys and the configuration.
Topic Participants
TagoIO .
Vitor Lima