Change device connector/network using API and Analysis
Easily change device network and connector using API and Analysis. You will learn:
• Change the network and connector using analysis in tagoIO.
The guide will be separated in two sections. Section 1: Change the network and connector using API through HTTPs request using Postman and Section 2: Change the network and connector using analysis in tagoIO.
Section 1:
What do I need to Change in the network and connector using API through HTTPs request using Postman?
First you will need API client software. In this guide, we’ll use Postman for then. After then you will need some id’s, they are network id (network id that will be changed), connector id (connector id that will be changed) and the device id (device id that the network and connector will be changed) and later delete all tokens in your device.
Done, now just configure the postman using the example curl command according to the values you want. Follow the steps below that explain all this.
Follow the steps to get the ids:
Get the network ID and connector ID:
In order to get the network and connector ID, do the following steps:
1 - Go to the create devices page and find the connector in the network that you want to use;
2 - Click on the connector to create the device;
3 - In the url, you will find both the Network ID and the Connector ID;

In the tab devices select the device that you will change the connector. In the url, you will find the Device ID

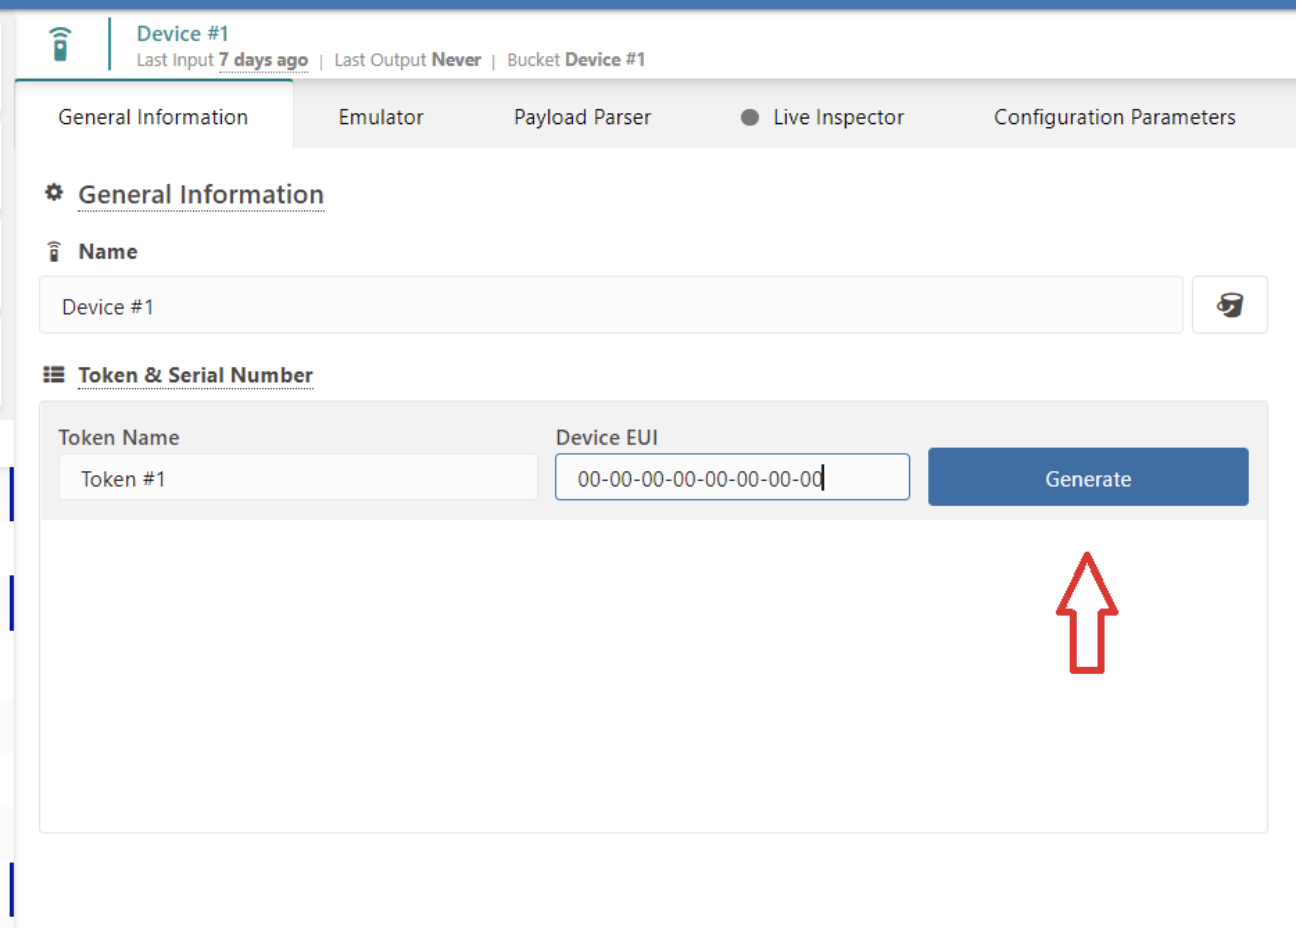
In tab Devices, select the devices that will change the network and connector and delete all tokens in your device;

Then you can use the following route:
PUT - https://api.tago.io/device/{Device ID}
Headers:
– Authorization: Your account token
Data:
{
“network”: network ID,
“connector”: connector ID,
}
How to get this account token:
Steps to generate an account_token:
1. Enter the following link: Admin
2. Select your Profile.
3. Enter Tokens tab.
4. Generate a new Token with Expires Never.
5. Press the Copy Button and place on command curl
To test the change of connector on the device, you can use the postman or other software along with the curl example:
curl --request PUT \
--url https://api.tago.io/device/ VALUE YOUR DEVICE ID \
--header 'Authorization: VALUE YOUR ACCOUNT TOKEN \
--header 'Content-Type: application/json' \
--data'{"connector":"VALUE YOUR CONNECTOR ID",
"network": "VALUE YOU NETWORK ID"}'
To test with the postman follow the steps:
1. Click on “file” and then “import”;
2. Select raw text and then copy and paste the command curl;
3. After this click on continue;
4. Done, now just click send and it will change the device connector;
Section 2:
Two auxiliary links to help create and configure analysis:
- How to create an analysis: https://help.tago.io/portal/en/kb/articles/120-creating-analysis
- Environment Variables: https://help.tago.io/portal/en/kb/articles/65-environment-variables
The script can be found here on below. Copy the code and paste it on a new analysis within your TagoIO account. After that, set the following environment variables: network_id, connector_id , device_id and account_token . If you aren’t sure what values you should use on each of the variables, check the topics below, as there are additional explanations for each of them.
-
network_id: you need to get the id of network that will be changed
-
connector_id: you need to get the id of the connector that will be changed
-
device_id: you need to get the id of the device that the network and connector will be changed
-
account token: token generated from the account you are using

/*
** Analysis Example
** Change device network and connector using SDK
**
** Environment Variables
** In order to use this analysis, you must setup the Environment Variable table.
**   account_token: Your account token. Check bellow how to get this.
**   network_id: How to get network_id, showing in this community topic.
**   connector_id:  How to get connector_id, showing in this community topic.
**   device_id: How to get device_id, showing in this community topic.
**
** Steps to generate an account_token:
** 1 - Enter the following link: https://admin.tago.io/account/
** 2 - Select your Profile.
** 3 - Enter Tokens tab.
** 4 - Generate a new Token with Expires Never.
** 5 - Press the Copy Button and place at the Environment Variables tab of this analysis.
**
** You can scale the code in different ways, you can use for example dashboard to trigger the analysis and write the ids(device id, network id and connector id);
*/
const { Analysis, Account, Utils } = require('@tago-io/sdk');
    async function startAnalysis(context, scope) {
    // Get the environment variables.
    const env = Utils.envToJson(context.environment);
    const account_token = env.account_token;
    const network_id = env.network_id;
    const connector_id = env.connector_id;
    const device_id = env.device_id;
    // Check missing envoiroment variables
    if (!account_token) return context.log('Missing "account_token" environment variable');
    else if (account_token.length !== 36) return context.log('Invalid "account_token" in the environment variable');
    if (!network_id) return context.log('Missing "network_id" environment variable');
    if (!connector_id) return context.log('Missing "connector_id" environment variable');
    if (!device_id) return context.log('Missing "device_id" environment variable');
    // Instance the Account class
    const account = new Account({ token: account_token });
    // Get the token list
    const token_list = await account.devices.tokenList(device_id,{ page: 1, fields: ["name", "token","serie_number", "permission"],filter: {}, amount: 20 });
    const lenght_token_list = token_list.length;
    // Deleting all tokens in your devices
    // WARNING: Your tokens will be deleted, you may need to update on external services if you're using them
    for(let i = 0; i<lenght_token_list;i++){
        await account.devices.tokenDelete(token_list[i].token);
    }
    // Editing your network and connector and create tokens using serial number and name of token list
    if(await account.devices.edit(device_id,{connector: connector_id,network: network_id})){
        for(let i=0;i<lenght_token_list;i++){
            await account.devices.tokenCreate(device_id,token_list[i]);
        }
        context.log("Successfully change network and connector ")
    }
}
module.exports = new Analysis(startAnalysis);

Topic Participants
TagoIO .